Monday, October 14, 2013

A Strong Foundation

The foundation came with a few hiccups. Our selected foundation contractor partnered with a builder and canceled all single home bids/contracts.  We spent 3 weeks trying to find a contractor who was willing to bid our project and had availability for late summer or early fall.  Luckily, we hooked up with Stockness, and the project lead was more than patient in dealing with us as first time owner builders.

Forming the footings
Pouring the footings
Footings are complete, and the inspection passed
The footings were poured the last week of August – Happy Labor Day to us!  We had the opportunity to subfill the basement (add the rock that would provide the structure for the basement slab) prior to the foundation walls being framed.  Our excavator was thrilled.  Apparently, not all foundation contractors allow the time for the excavators to bring in the fill between footings and walls which means scooping the rock over the top of the foundation walls to subfill.

Forming the walls
Ready to pour
Every cavity was filled using the boom from the street
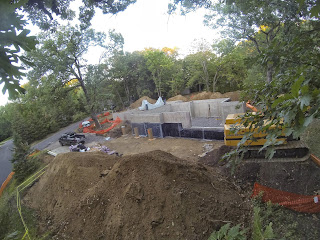
Basement is complete, and the waterproofing is started
The wall forms were up in two days, and the concrete was poured on the third day.  The forms were pulled a week later and backfill was completed shortly after that.  We are excited to see the progress.

The lookout view from the future family room in the basement
Jared assessing the basement from the inside out
The concrete sub left the nuts washers for the framing sub to set the sill plates. 
Lessons learned:
-Pouring a foundation with a brick ledge requires a large amount of material waste.  We would select a product that does not require a ledge in the future.
-Waterproofing and insulating a foundation requires attention to detail.  Hire a capable contractor; we did not.
-With proper scheduling, subcontractors can be friends.  

-Have a backup plan for losing a contractor.  Otherwise, the project can be delayed by weeks.


For those interested in our technical research:
A house foundation has many functions – provide a structural base for the above ground structure, keep moisture from seeping through to the interior, insulate against temperature changes, and withstand the pressure of the earth around it (Check out this link for more technical details http://www.engr.psu.edu/phrc/Publications/BB0510-Insulating%20Basements%20Part%20I%20FINAL.pdf).  Realizing the importance of the foundation to the longevity of our home, we considered a variety of foundation options during the design process.  Here’s a summary of our findings:

Insulated concrete forms (ICF) are Lego-like blocks that interlock together.  The forms are filled with concrete and left in place.  This “green” technology does wonders for your energy bill IF used above ground where large changes in temperature can occur in a single day.  However, basements are protected from these fluctuations by the relatively stable temperature of the surrounding soil.  Additionally, ICF basements have to finished prior to receiving an occupancy permit for fire code reasons.  

Thermal mass (T-mass) construction consists of board insulation sandwiched between concrete.  The technology has similar benefits and performance to ICF without the need for finishing before occupancy.

Block foundations are becoming a construction technique of the past, because blocks are prone to leakage, cracking, and occasionally collapse (i.e. the home we had torn down).  Rebar reinforced core filling helps with the structural integrity, but one should expect on-going maintenance. 

Reinforced poured concrete foundations are constructed by setting up temporary forms, filling the forms with concrete, and removing the forms in 1-2 days.  Poured concrete overcomes the leaking and cracking concerns of block foundations. 

How does the cost compare between the four foundations we considered?  Block foundations are the most economical option, followed by poured concrete, ICF, and T-mass, respectively.  The ICF and T-mass quotes we received were between 30-50% higher than the poured foundation quotes.  We calculated the utilities savings for the ICF and T-mass versus a poured wall foundation with R-10 board insulation applied to the exterior and found it would take several decades to recover the cost of the more expensive options.  

Sunday, September 29, 2013

Trees and Dirt

We ended August with a building permit in hand and immediately started tree removal and excavation. 

City ordinances establish how big the front and back yards must be when building.  We had to cut down three beautiful, mature trees to meet the requirements.  It was a sad day for us to see them come down.  The good news is we have new trees planned for the property - a combination of spruce trees, arborvitae, apple trees, and birch trees will compliment the new landscaping nicely.  

All the pretty trees - it's a shame they had to be removed.
The trees are gone.  It's time to start digging
The stack of wood Jared gets to split.
 
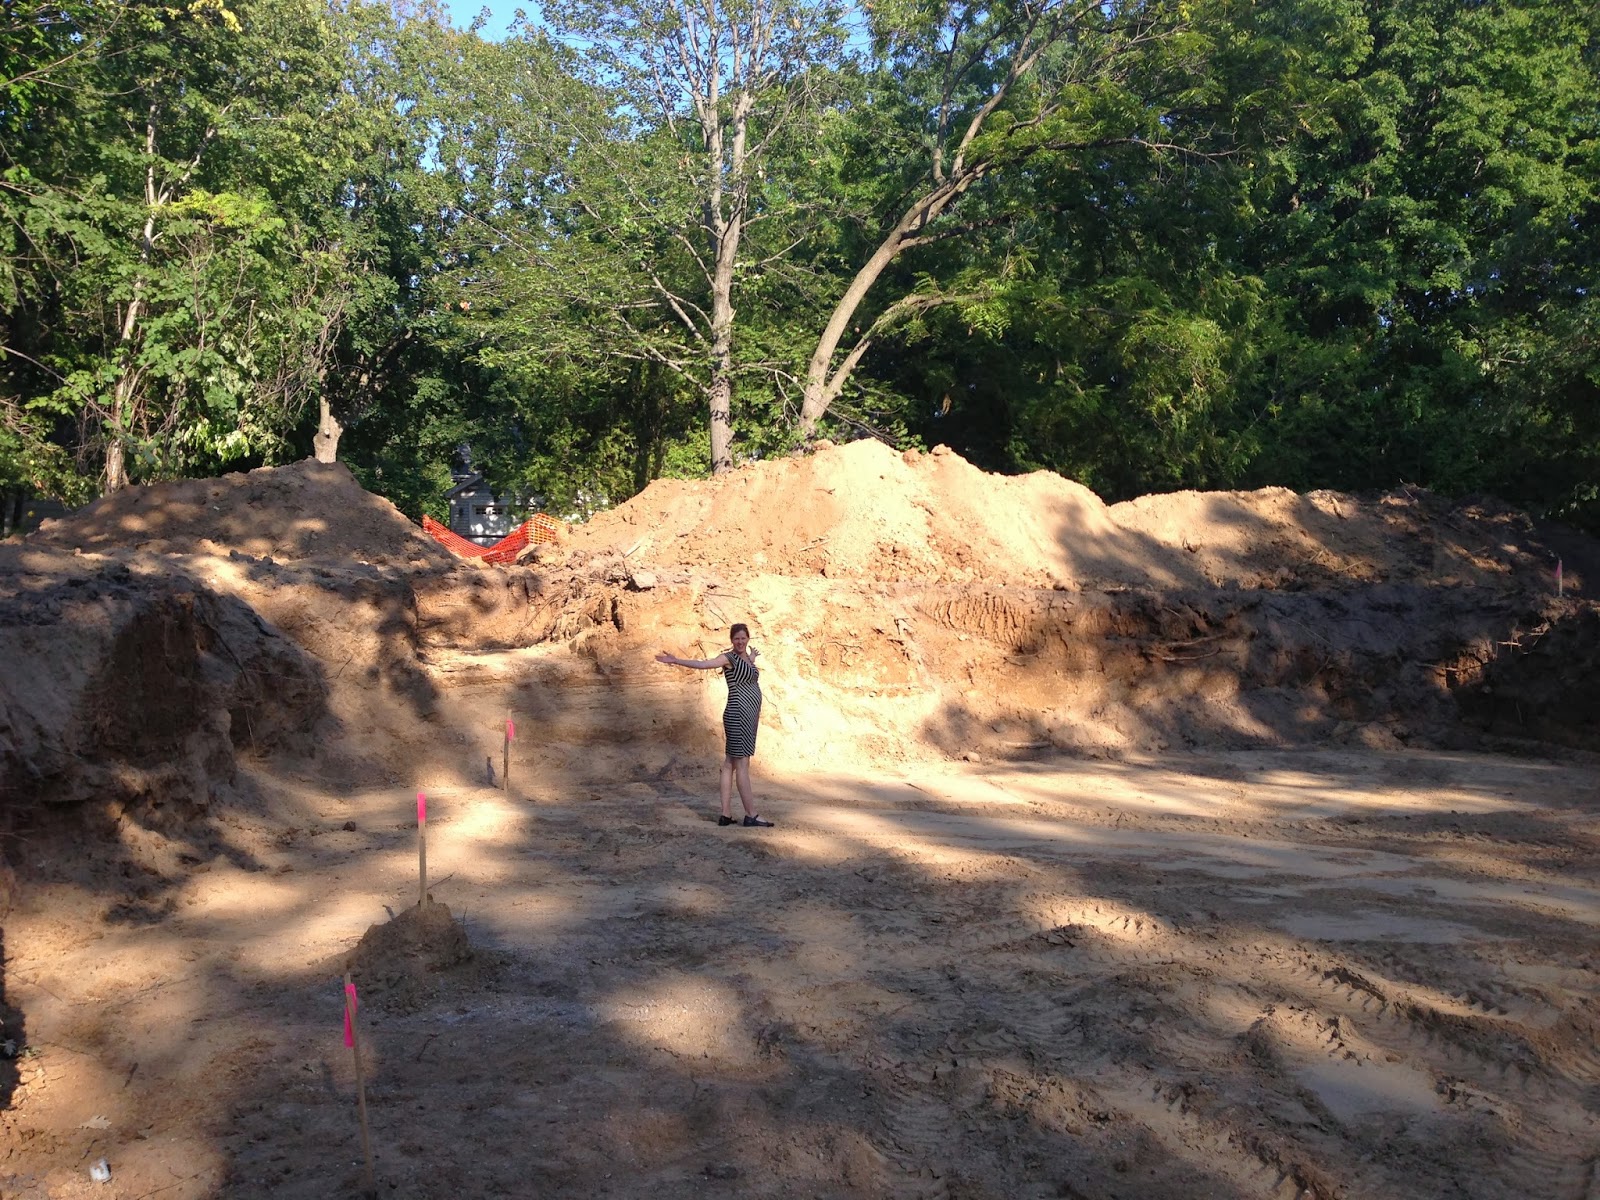
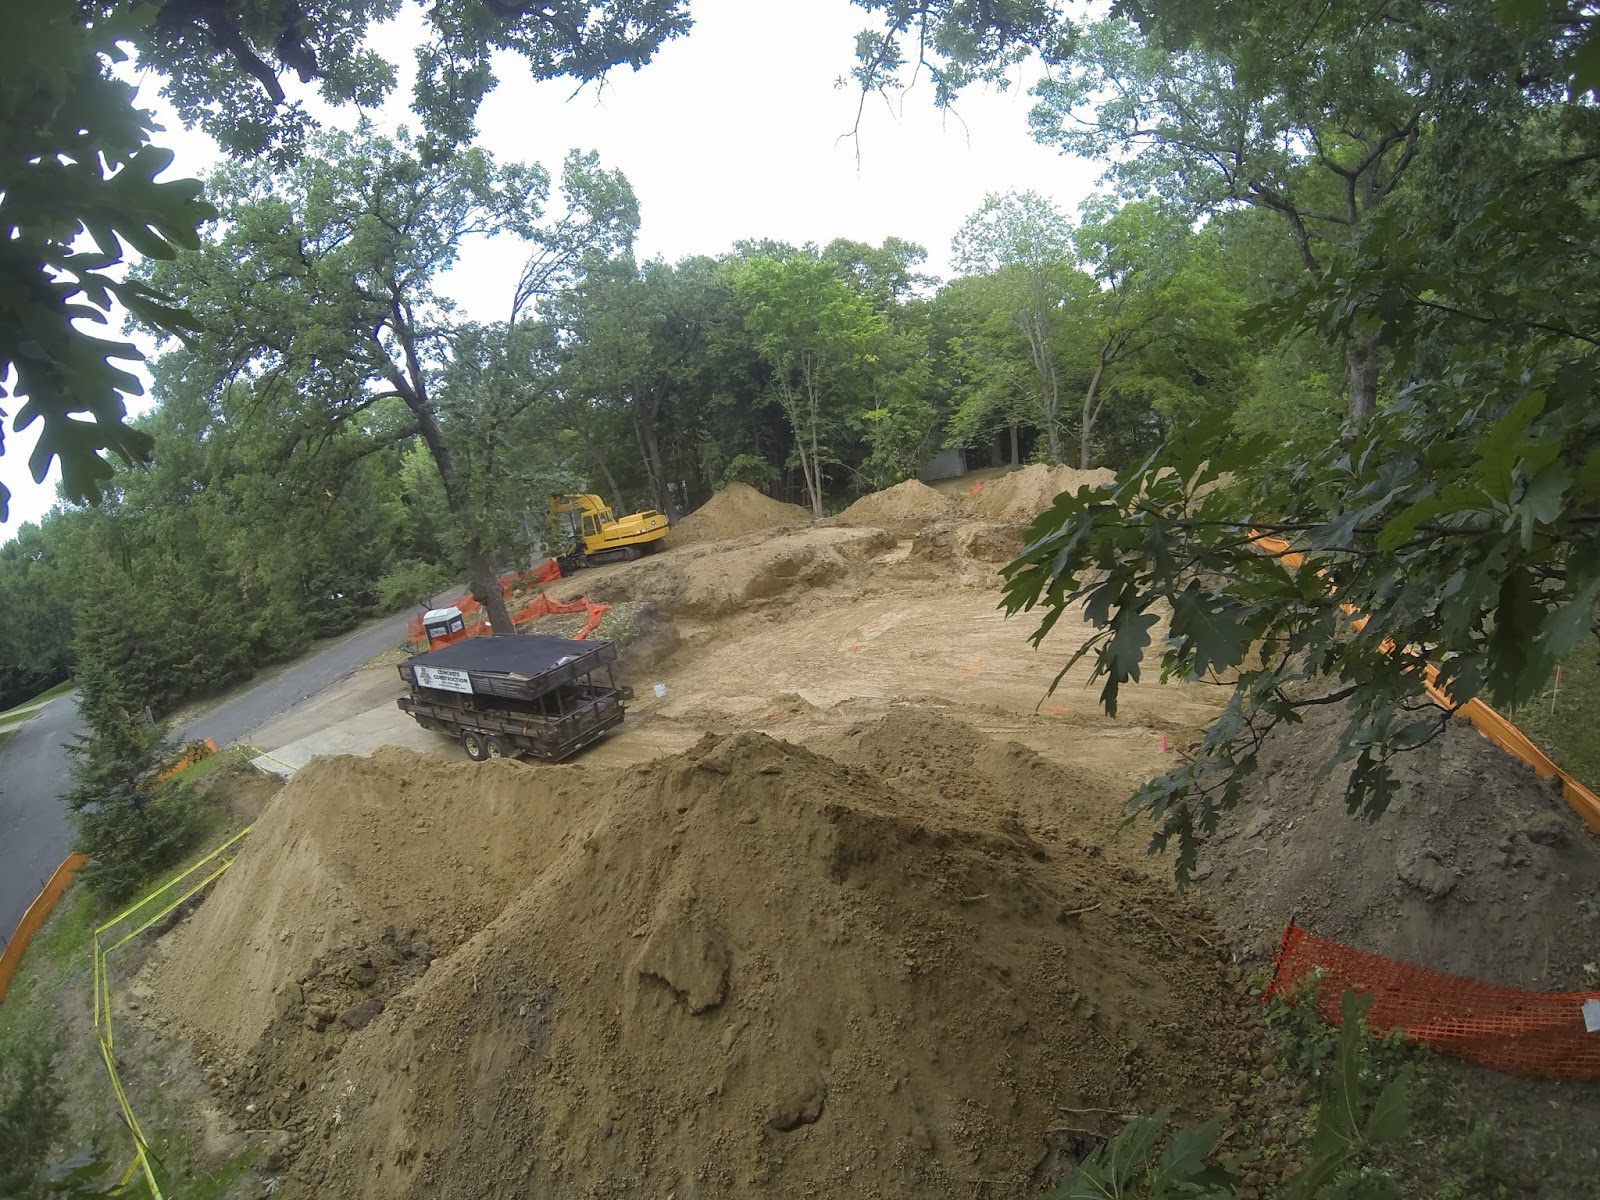
With the trees down, the excavation crew got right to work. They hit sand seven feet into the dig.  This unexpected, yet welcome discovery means we have a good base for putting down foundation footings and the basement and garage floors.  It's our first cost savings find of the project!

The dirt from the new house is used to fill the hole of the old house.
 
Alycia standing in the basement utility room.
 
Jared inspecting the frost footing excavation for his garage.
 
Two of four enormous dirt piles to be used during backfill and final grade.  AND, the footing forms have been delivered!


What we learned:
  • Sometimes you get lucky - hitting sand saved us a few $$.
  • Sometimes you have to adapt - a few of the footing had to be placed deeper to get past the roots of the trees that were removed which cost us a few $$.
  • A good contractor is worth gold - Kev's Trucking out of Plymouth is a gem.  He performed demo and excavation for us, provided sound advice, and was always willing to go the extra mile.  He seems to enjoy sharing his 30+ years of construction experience with a couple of newbies!


Monday, September 2, 2013

Down with the Old

Our construction loan is closed and we are patiently waiting for the building permit to be approved.  What was supposed to take 10 business days has now become 20+.  The building official, an extremely nice gentlemen with a passion for following the letter of the law, has requested more details: formal truss load calculations, reconfiguration of the foundation footings, a new drainage plan, and a few other minor details.

Construction Superintendent (aka Dad) reclaiming hardwood floors 
Most of the structural information should have been handled by our home designer but was incomplete or incorrect.  We quickly enlist the services of our lumber yard and truss manufacturing to fill in the gaps.  It takes less than a week to receive all the information we need.  Thankfully, we are able to update the drawings ourselves and resubmit them.  The city tells us the structure is approved, but the drainage plan must be changed before we can begin construction.

Jared prepping to de-nail the hardwoods
Getting a new drainage plan from the survey engineer takes effort and patience.  The guy is a real piece of work; he submitted a plan that wasn't even close to compliant with the city or watershed district guidelines.  He told us that he "never said the plan would meet requirements," nor would he guarantee the next proposal would be compliant. With little choice, we pay him to redesign the property drainage, and it takes him nearly 4 weeks to complete the project.  After the third phone call, he admits that he has "forgotten" about our project and says he'll get right on it.  We start calling him every other day until the plan is complete, which still took two more weeks.

IXL Rock Maple Flooring.  We were excited to gather some history on this hardwood floor: http://www.hermansville.com/IXLMuseum/Pages/History.htm. 

Meanwhile, we are preparing the old house for demolition.  First, we reclaim the hardwood floors and the mantle for use in the new house. Then we have an asbestos crew remove the hazardous material.  The lead on the removal crew said he had never seen so much asbestos in one house.

Demo - beginning of day 1

As we enter late July, the city issues a demolition permit.  This allows us to feel some excitement and anticipation about getting to build the new house soon.  The demo goes smoothly, taking only 3 days to complete.

Demo - mid day 1

Demo - end of day 1

Demo - end of day 1

Demo - end of Day 3
A quick video of the house coming down.


Lessons Learned:

  • Be more thorough when selecting a home designer and make sure the contract includes code required modifications to the plans.  
  • Getting a response from bad contractors takes constant nagging.
  • Allow extra time (1-2 months) to work out any permitting issues

Wednesday, August 28, 2013

80% Planning, 20% Execution

February 14, 2011

On February 14, 2011, we purchased a dilapidated house and began planning our future dream home. "But that red house looks so cute," you say.  Structurally, the foundation was collapsing, and the first floor was being supported by a steel beam held in place with screw jacks.  Asbestos and flaking lead paint were found in every room of the house.  The house was destined to be demolished.

Deciding to demolish the house was easy compared to the decisions we would spend the next 30 months (yes 30!) making.  We started by selecting a home designer.  She worked with us over 3 months to take us from concept and pictures to completed house plans.  Most people would have started building at that point, but we were set on being our own general contractor (GC).  We're both engineers and project managers who thought "it can't be that hard."  Let's just say the engineering brains took over, and the project began to suffer from analysis paralysis.      

Missing the 2011 building season due to our paralysis, we set our eyes on building in the spring of 2012.  We hired a building consultant that winter to help with the finer points of construction and to manage the bidding process.  Our work with him led to a redesign; while the interior met our needs, the exterior structure lacked curb appeal.  We began interviewing architects, meeting some interesting men along the way, and settled on the person who fit our needs.  Unfortunately, the gentlemen we hired was not able to complete our project for medical reasons.  We quickly moved back to our original designer, fixed the curb appeal, and made a few efficiency improvements on the interior.  In the end, we missed the 2012 building season, too.

Feeling confident that 2013 would be our year, we targeted a May 1st start date.  A handful of items and a VERY wet spring delayed our timeline once again.   However, we were able to begin our long anticipated (by us and the neighbors!) project at the beginning of July.  This blog is a way for us to share with friends and family our journey as we navigate the building.  Who doesn't want to hear the pitfalls and successes of trying to general your own home?!?